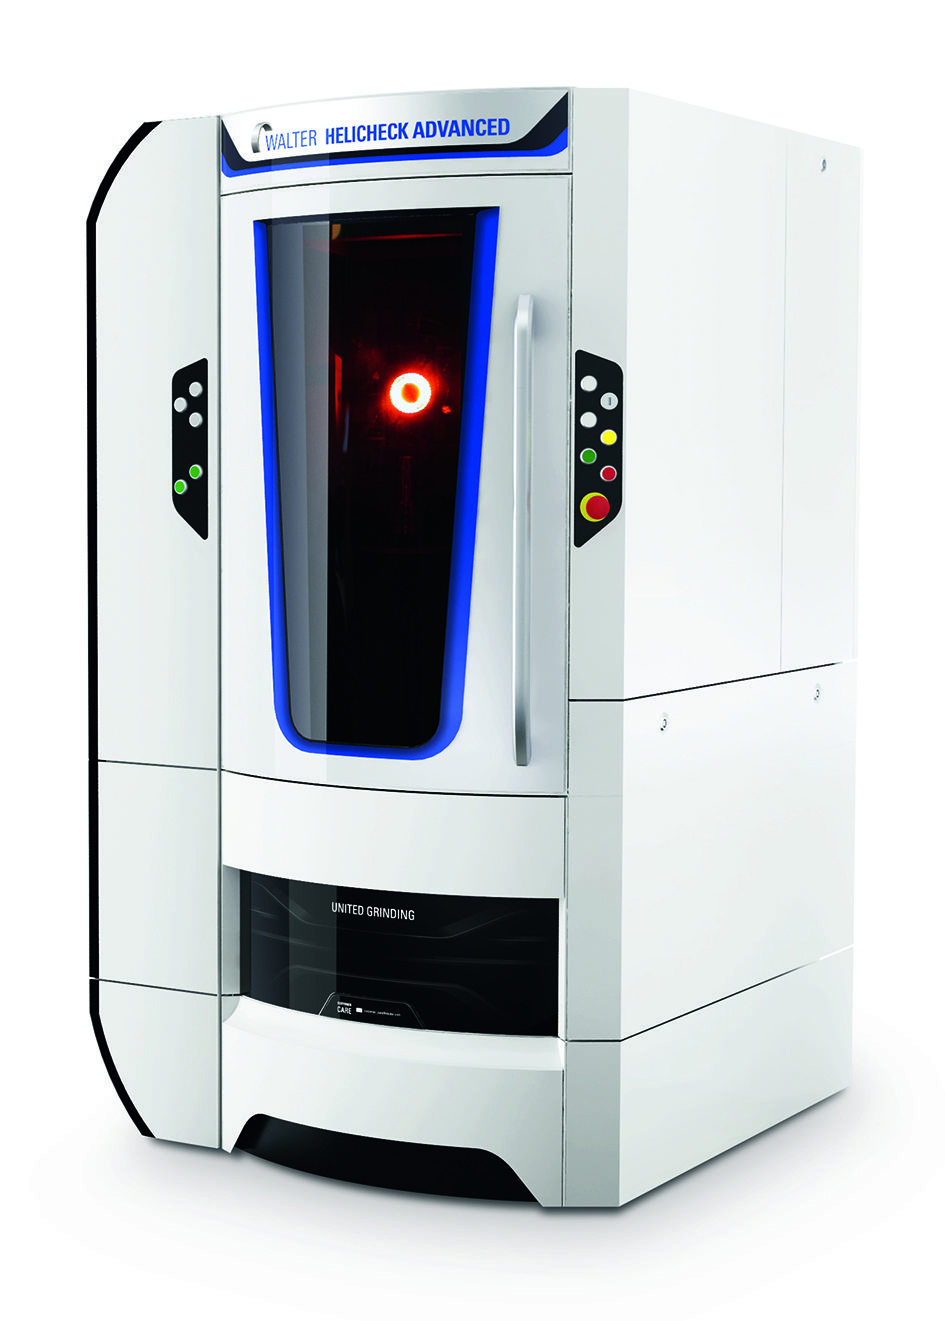
The installation of a Walter Helicheck Advanced tool measuring machine has slashed the time it takes to profile plot PCD profile tooling, spiral router cutters and tungsten carbide tipped serrated knives at Unilap.
The new machine is producing process time savings of up to 60 per cent for the long-established company, a specialist in the manufacture and regrinding of a range of tools used throughout the woodworking and metalcutting industries, including for aerospace and military applications in North America.
According to managing director Carl Hughes, while the Helicheck Advanced is initially being used to great advantage on ensuring reground tool profiles are exact and accurate replicas of, for example, the plotted helix angles – as well as inspecting/assuring grinding wheel packs for the company’s two Walter Helitronic Power tool grinders – there are also plans to use the machine for more ‘conventional’ tool diameter and length inspection routines.
“It is, however, for plotting the profiles on a range of serrated and profile knives, in particular, that the machine has transformed our timelines for the production of accurately reground tools,” says Mr Hughes. “In the bargain, of course, the machine is also enabling us to fully guarantee the accuracy of our work, backed up by computerised data.”
Established in 1974, Unilap uses a portfolio of advanced production machines in the design, manufacture, supply and service of a wide range of tooling, including PCD, solid carbide and TCT as well as HSS. The company’s renowned regrinding service levels are complemented by comprehensive stocks of new tools including saw blades, drills, knives and PCD tooling.
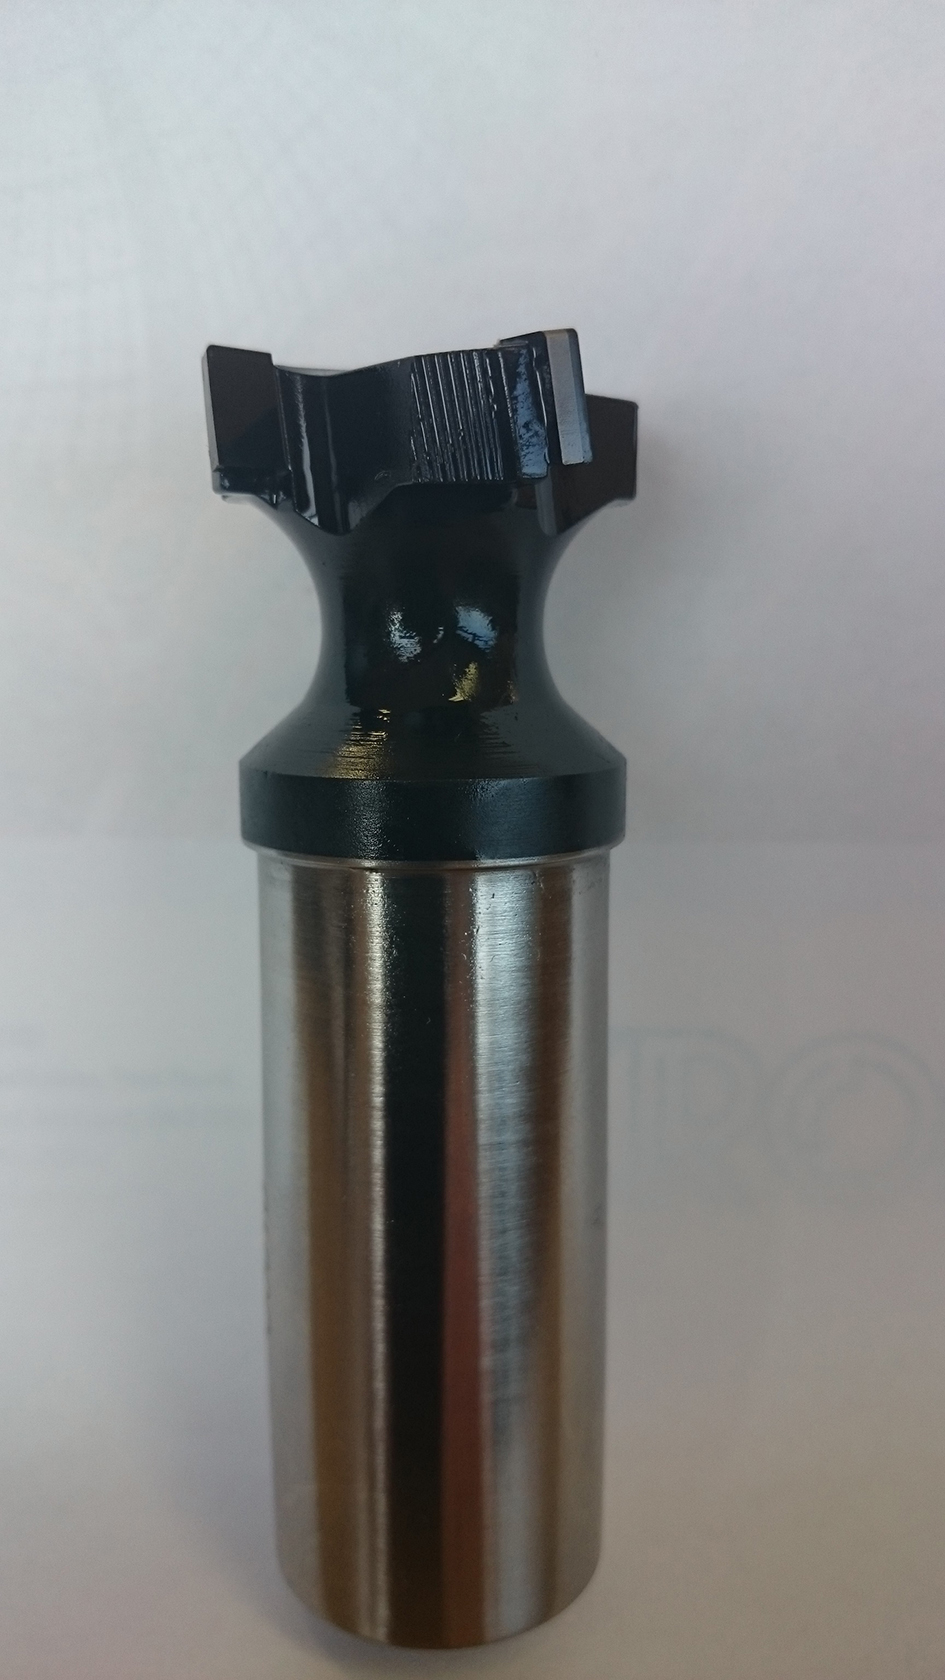
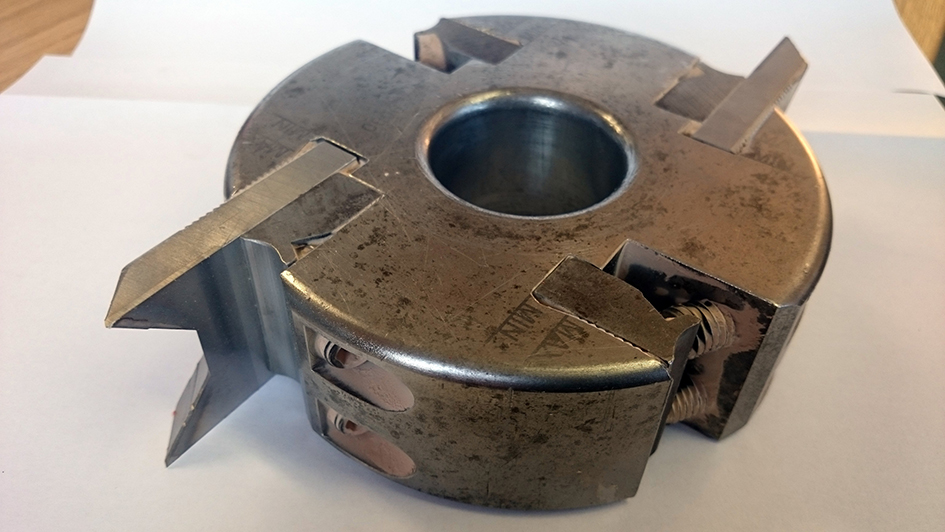
The Walter Helicheck Advanced tool measuring machine enables Unilap to reverse engineer PCD tools, such as those used to machine vinyl-wrapped MDF
| Much of the tooling Unilap receives for regrinding is reverse engineered and it was the need to speed up the process, which although digitised did entail manually moving the cross hairs when each profile was inspected, that prompted the need for an improved method.
With X, Y and Z axis capacities of 270 mm, 455 mm and 325 mm, respectively, plus a 360deg A axis, the Helicheck Advanced uses three cameras (back light 50 times magnification as standard – 100 times as an option – front light 100 times and face camera 100 times) and has a reproducible accuracy of 1.5 microns.
|
“With two multi-axis Walter Helitronic tool grinders (one with a Disc Loader for processing tooling in multiples), it made sense to invest in a brand that we already knew and, importantly, a machine that also provided a level of flexibility that it appears others couldn’t,” Mr Hughes added. “The Helicheck Advanced satisfies that on both counts.
“The machine has not only enabled us to speed up the processes of reverse engineering but it is also software-compatible with the Walter tool grinders, so we can easily and quickly inspect grinding wheel runout radii, as well as transfer data on tool diameter and lengths for tooling that is to be reground on the Walters.
“The Helicheck Advanced has created a win-win situation for us and our customers,” he confirms.

