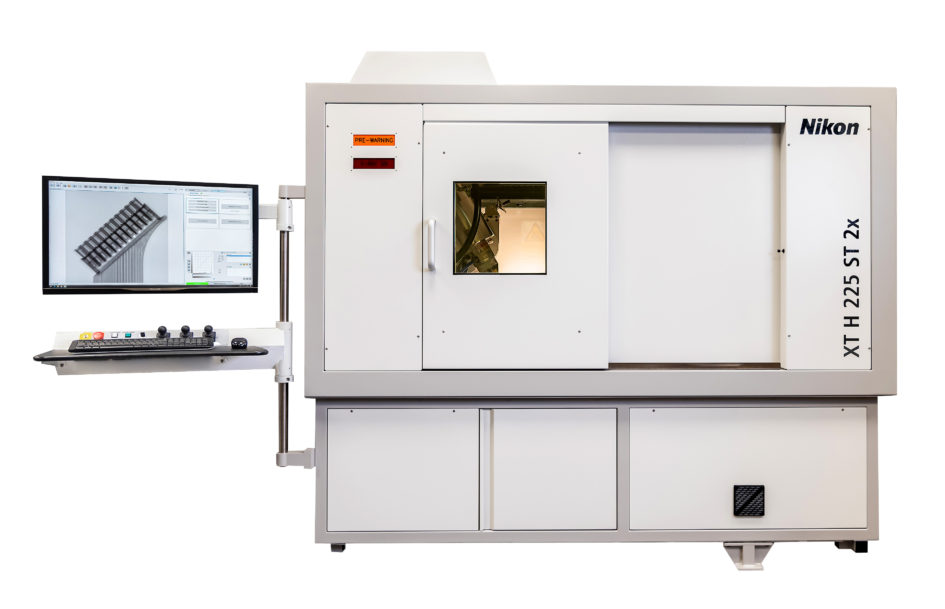
Exceptional improvements have been made by Nikon Metrology in its new, 225 kV, microfocus X-ray CT (computed tomography) system, the XT H 225 ST 2x. Two of the features are not to be found on any other industrial CT system. One is Rotating.Target 2.0, which thanks to more efficient cooling enables a 3x smaller focal spot size for clearer imaging. The other, Half.Turn CT, is a novel method for almost halving the angle through which a specimen rotates during the X-ray cycle, speeding the process without loss of image quality.
Operation has been greatly simplified and efficiency doubled, enhancing the system’s suitability for a wide range of applications from the museum laboratory through academia to the R&D department and on to the factory floor. The intrinsic benefit of X-ray CT is that it allows both the exterior and interior of a sample to be inspected and measured non-destructively. The XT H 225 ST 2x, which has undergone thousands of hours of rigorous testing, is distinguished by its ability to be tuned to match the part under investigation so that optimal results are produced every time.
Rotating.Target 2.0 maximises the quality of data collected and hence image resolution. It also doubles the running time before preventive maintenance is required, lowering costs and raising equipment availability. Spinning the target dissipates the heat generated by the small focal spot size more efficiently, enabling continuous generation of high power X-rays and a dramatic increase in scanning speed and resolution, without the need for cool-down.
There is a choice of four targets, easily interchangeable by the user onto the source tube. The reflection target is the standard option with a focal spot size down to 3 µm, providing the resolution and power for a wide range of applications. The rotating target on the other hand features a 3x smaller spot size starting from 30 W, allowing very crisp images to be maintained at high powers and reducing the time needed to scan objects. Alternatively, a transmission target gives a spot size down to 1 μm for even greater clarity. Lastly, a multi-metal target is mainly used at lower energy X-ray emission for material analysis.
Another new feature is Local.Calibration, which allows rapid, repeatable, automated calibration of voxel size at any CT scan position, rather than the user having to perform the function manually. It leads to a radical improvement in measurement accuracy. Extra benefits are that the procedure is deskilled and dimensional accuracy is traceable.
A further innovation centres on maximising the availability of the CT system by raising the lifetime of the filament. Auto.Filament Control intelligently controls the X-ray source to double the lifetime of the filament, lowering the cost and increasing system uptime without losing microfocus resolution. When the filament does have to be replaced, downtime is considerably reduced by the introduction of Quick.Change plug-and-play filament cups. The convenient, highly repeatable procedure deskills the process and eliminates human error. In addition, the filaments themselves have been aligned and conditioned by Nikon Metrology’s X-ray engineers to deliver optimal performance.
Additionally, the Half.Turn CT innovation means that instead of rotating the sample under investigation through 360 degrees during the X-ray cycle, it is only necessary to rotate it through just over 180 degrees to obtain sufficient data for an image of equivalent quality. Increasing data acquisition rate by 100 percent doubles inspection efficiency, which is especially useful in support of production applications.
An additional feature of the XT H 225 ST 2x is motorised FID (focal spot to imager distance) adjustment. The user does not have to increase X-ray power, which would make the focal spot larger, or lengthen detector exposure, which raises scan times, to compensate for the fact that X-ray intensity falls as the distance increases between the source and the flat panel detector. A shorter FID may be selected instead, giving faster scan times for a given resolution or a higher signal-to-noise ratio when using low energy X-ray power.
Nikon Metrology’s in-house developed Inspect-X software is designed to streamline the process of acquiring and reconstructing CT data for accurate inspection. For novice users the focus is on intelligence, operators being offered only the information they need at any moment, simplifying the task at hand. Advanced users can take advantage of full control over all settings of the source and industry-leading flat panel detector, as well as over acquisition techniques and settings, to tailor the system to the sample being scanned.


