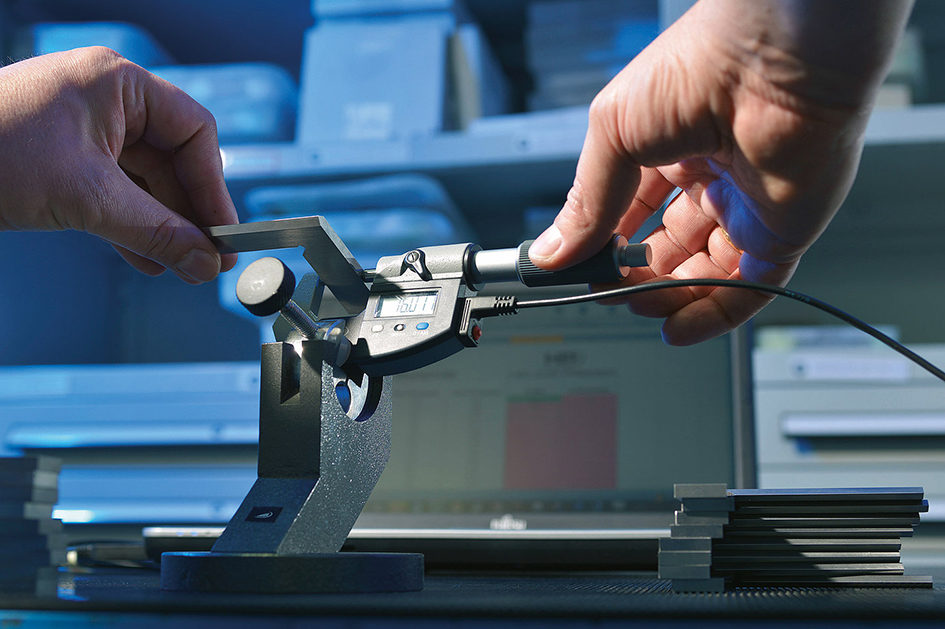
The production of hand-held measuring equipment means large volumes and high demands on the accuracy of the workpieces. In this context, the production measurement technology used is faced with the challenging task of working at speed with a high degree of precision. The solution chosen by HELIOS-PREISSER is BLUM touch probes that are used in the machining centres for continuous measurements integrated into the process.
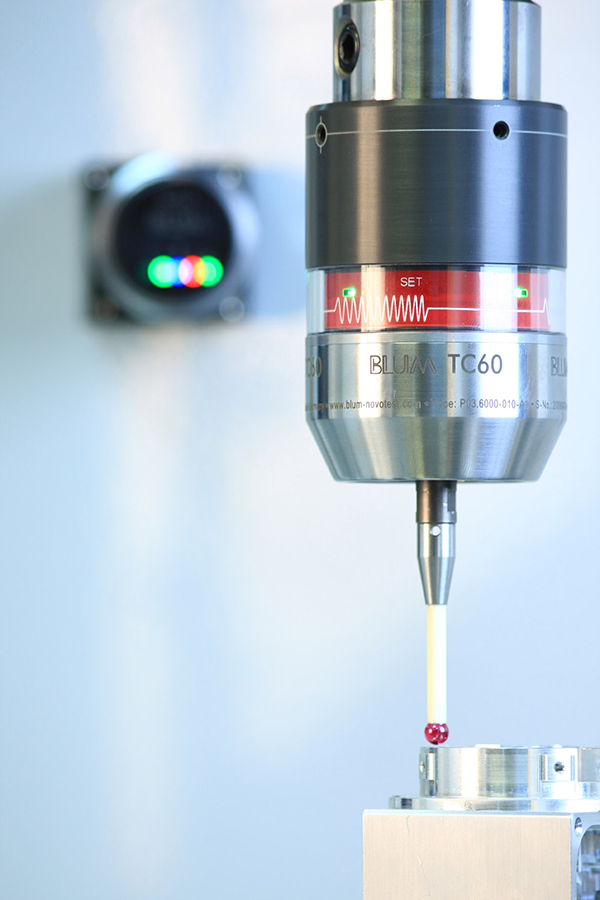
Blum Probes in Action at Helios Pressier
In 2008, HELIOS-PREISSER, a manufacturer of high-quality hand-held measuring equipment for professional use, became aware that the capacity of its three machining centres previously used for production was no longer sufficient. The company was operating around the clock in three shifts to manufacture its micrometers, vernier callipers, dial gauges and marking and measuring instruments. Due to its positive experience with its existing machine tools, the company based in Gammertingen, Germany decided to rely on machine tools from Heller with BLUM Novotest measuring systems.
A 14-metre long pallet magazine connects the machining centres, which are supplied with clamped workpieces by a robot. This ensures automated supply, but an opportunity to satisfy the high quality requirements was still lacking. The HELIOS-PREISSER employees already had many years of positive experience with BLUM touch probes in the old machining centres that are still operating with great reliability. The new Heller four-axis machine was also equipped with a BLUM measuring probe.
It was only the company’s five-axis centre that used a probe from another manufacturer. However, this did not meet with great approval at HELIOS- PREISSER. “Where possible, I endeavour to make regional purchases. In BLUM, we have found a partner that can offer us high-quality products and corresponding service within a close distance,” emphasises CEO Siegfried Lorch.
“Particularly as wherever possible; we would like to have just one point of contact. In addition, we have been extremely satisfied with the BLUM touch probes for years.” In the end, BLUM’s sales representative Erhard Strobel proposed a solution –an engineer would install the probe and receiver in the new machining centre.
The 120 employee HELIOS-PREISSER uses TC50 and TC60 touch probes from BLUM. The first transmit data via infrared, the latter via radio technology. The touch probes are fitted on tool holders and can be substituted if necessary, in order to execute measuring tasks before, during and after machining. The infrared system can always be used when a line of sight can be guaranteed between the touch probe and receiver. A measuring system with radio transmission is installed on the five-axis machining centre. This reliably transmits the signals from the touch probe to the receiver – even when the line of sight is disrupted by the large swivel head.
The BLUM touch probes are used for a whole range of tasks in Gammertingen. For example, they check whether the workpieces are correctly clamped prior to the commencement of machining. “We also use the probe to measure the result of the machining. After casting, the dimensions of the cast blanks are often very different,” explains Tobias Weber, foreman of the milling shop. “This is why, prior to machining, the position of the blank is captured using the probe and the compensation values for the NC program are transmitted to the machine controller. Thanks to the BLUM touch probes, we have been able to reduce the rejection rate for these components from ten percent to one to two percent.”
Another example is the tail stocks of the bench centres. Here, a hole must be positioned accurately to one hundredth for a channel on the same part. Previously, there had always been fluctuations, often due only to the temperature response of the machine. If the dimension was correct in the morning with a cold machine and hall, by noon with a hot machine and warm weather the dimension would be outside the tolerance. At HELIOS-PREISSER, the channel is now machined and measured before finally being drilled using the measurement data. This enables the desired precision to be reliably achieved regardless of the effects of temperature.
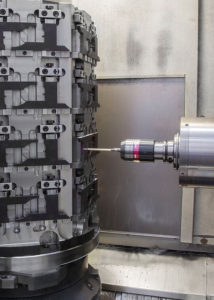
Blum TC-50 Used at Helios Pressier to reduce reject rates to less than one percent
The large volumes manufactured in Gammertingen require short cycle times, so measurement must not take too long. BLUM touch probes are designed for maximum measuring speed and are not sensitive to the widely used coolant, which is simply pushed away by the high measuring pressure. Measurements can also be taken directly after machining. “The touch probe is moved at a top speed of 60 metres per minute until shortly before measuring point; touching then takes place at up to 3 m/min – so not much time is lost. After machining, we check almost all fits using the BLUM touch probe,” reports Tobias Weber.
“Our manufacturing process has now become so precise, that we no longer have to grind many parts. Previously, in contrast, many parts were milled with an allowance and then ground to the finished size on grinding machines in order to be able to achieve the required precision for our measuring equipment – this saves a great deal of time.”
If a machine determines that a tolerance has not been complied with, the pallet is automatically removed and placed in the pallet store with an inspection record. The next morning it can be inspected to determine where the fault is and, in the meantime, the machine can continue to process further pallets. With respect to unmanned production, the touch probes from Blum have completely proven themselves at HELIOS-PREISSER: “Overnight, and often for parts of the weekend, the machines run unmanned. We only operate one shift, but we produce more than we previously did in three shifts.”
“The systems run very reliably during unmanned operation, which relieves the pressure on us and makes it possible to manufacture the required volumes without needing a night shift. The BLUM probes are essential to unmanned operation, especially as we are also very satisfied with the service offered by BLUM,” concludes Siegfried Lorch.

