Cwm Engineering Ltd has been on an acquisition trail over the last few years to target growth in high-tech industry sectors. As part of its journey, the West Wales company has moved to a new purpose-built 10,000sq/ft factory to make space for its investment in new machine tools. With more than five machine tools purchased in the last three years, the company recognised a requirement for a dedicated inspection department with high-end metrology equipment – that is why the company has just installed a CMM and a surface roughness machine from Mitutoyo.
With a machine shop full of turning centres and 3, 4 and 5-axis machining centres from Mazak, Cross Hands based Cwm Engineering is aiming to expand its work with aerospace OEMs and Tier 1 manufacturers. To expand in this area, the family-run business has just built a dedicated temperature-controlled inspection department with a Mitutoyo Crysta-Apex V 7106 CNC Coordinate Measurement Machine (CMM) and a Mitutoyo surface roughness machine.
Founded in 2011, the ISO: 9001 certified company nestled in rural West Wales, an area known more for its tourism and farming, started its metrology journey like all subcontract businesses – with precision hand tools. In 2014, the business bought a manual Mitutoyo CMM. This was subsequently followed by two shop floor CMMs to allow operators to conduct inspection at the side of the machines to prevent potential bottlenecks on the Mitutoyo CMM. However, Cwm Engineering realised that to win business from its OEM and Tier 1 target audience, it needed to stand out from rival subcontract manufacturers with a dedicated temperature-controlled facility with high-end metrology technology.
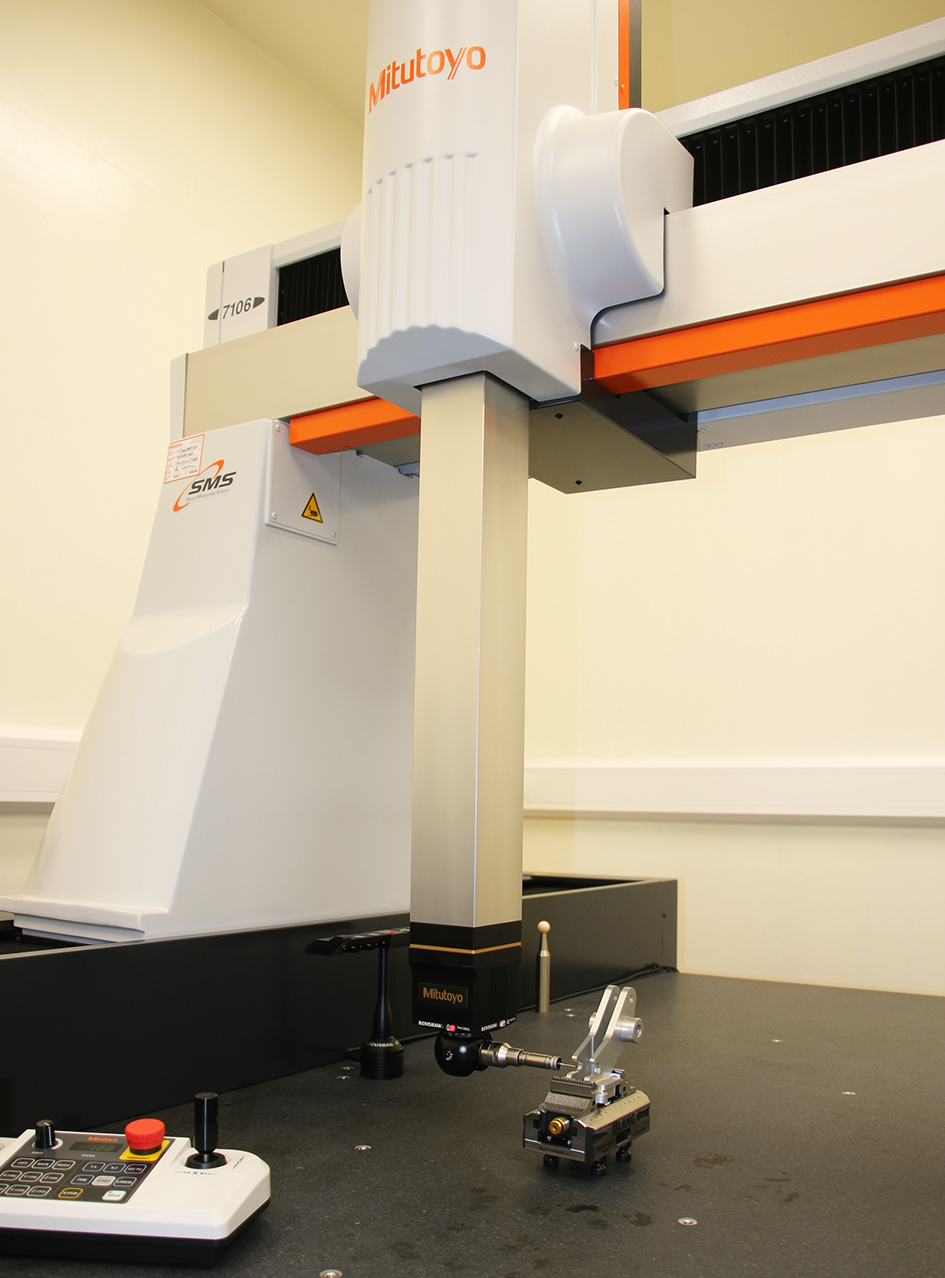
The extremely precise and fast Mitutoyo CMM at Cwm Engineering
Commenting upon this investment, Cwm Engineering’s Managing Director Malcolm Walters says: “We have invested heavily in high-end machine tools and this has given us the ability to manufacture extremely precise and complex components. However, to set ourselves apart from other subcontract companies, we recognised the importance of investing in a dedicated temperature-controlled quality assurance department. We are fully aware that when potential customers visit a subcontract manufacturer, they want to see a dedicated metrology department to instil confidence in their supply chain choices. When it came to selecting equipment for this dedicated department, Mitutoyo was the standout brand for our business. Mitutoyo is a brand that everyone knows and respects as an industry leader, and our previous experience with Mitutoyo gave us the confidence that it was the brand for our business. Our previous experience with Mitutoyo was exceptional.”
Cwm Engineering did its due diligence and fully reviewed the marketplace, but its experience with Mitutoyo led the company to invest in a Mitutoyo Crysta-Apex V 7106 CNC CMM that was delivered in April along with a surface roughness machine. The staff at Cwm Engineering have undergone comprehensive training on the new equipment, but the Carmarthenshire business is taking its commitment a step further and has employed an experienced quality control engineer with vast experience using Mitutoyo CMMs.
Alluding to why the company invested in the Mitutoyo Crysta-Apex V 7106, Malcolm adds: “We chose this machine as it has a measurement range of 700 by 1000 by 600mm that is packed into a small footprint. The compact footprint is perfect for our inspection department and the work area covers the diverse dimensions of the work we undertake. Furthermore, the level of information that can be obtained from the reporting system far exceeds anything we previously had.”
The Mitutoyo Crysta-Apex V 7106 is crammed with the latest technology and this includes Mitutoyo’s ABS linear scales, SMS capability for status and service monitoring and Mitutoyo’s renowned MCOSMOS software. The Crysta-Apex V 7106 is extremely accurate and fast with high acceleration rates which are credited to its lightweight bridge construction, temperature compensation sensors and the UC480 controller that supports the multi-sensor and SMS functionality (Smart Measuring System). With a digital step of 0.1µm, the machine has an accuracy maximum permissible error of (1,7+0,3L/100)µm with a 3D acceleration rate of 2,309mm/s2.
Discussing how the Crysta-Apex V 7106 will streamline throughput at Cwm Engineering, Andrew Ritchie, the Systems and Operations Manager at the JOSCAR registered company adds: “When we receive drawings from customers, whether it is an STL, IGES, STEP file or any other format, we can either programme parts at the machine or in our SolidCAM CAM system. When we are programming parts offline with our CAM system, we can simultaneously send the files to our CMM for programme creation. This ensures that the CMM programme is prepared and ready to inspect the parts whilst they are in production.”
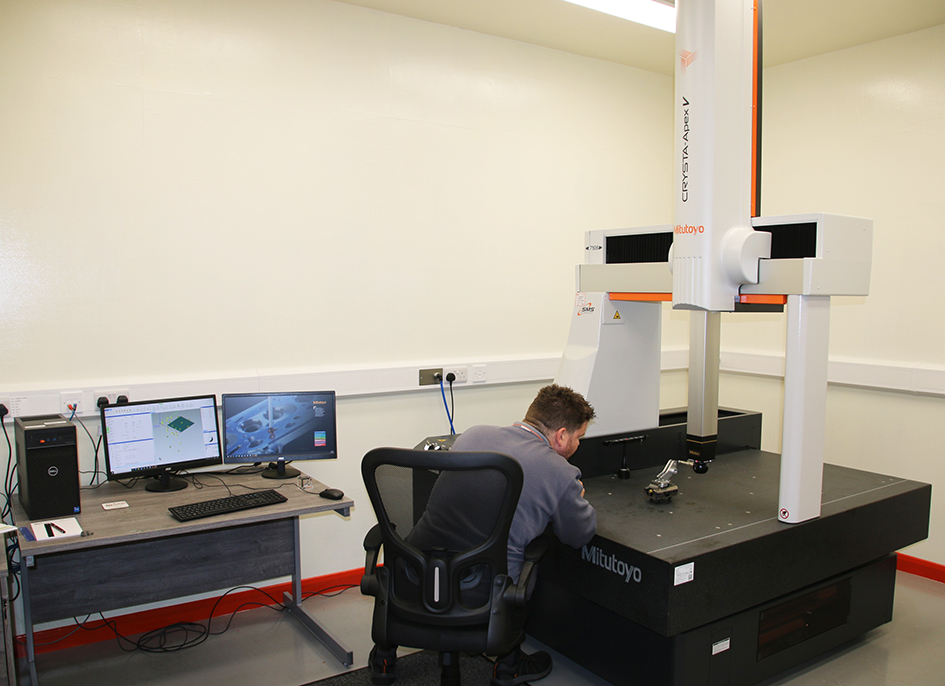
The new Mitutoyo CMM in operation at Cwn Engineering
Commenting further on the synergy between the shopfloor and the new CMM, Andrew continues: “We have only just installed the CMM, but our immediate plan is to create multiple zero-point fixturing systems for the CMM. We use Lang zero-point clamping throughout the workshop and by having fixtures on the Mitutoyo, we’ll be able to easily move parts straight from the machine bed to the CMM for rapid checking without excessive set-up times. By creating a multi-point fixturing system on the CMM, we’ll be able to set up single or multiple parts for inspection. This will streamline our throughput and enable us to provide anything from first-off to 100% inspection.”
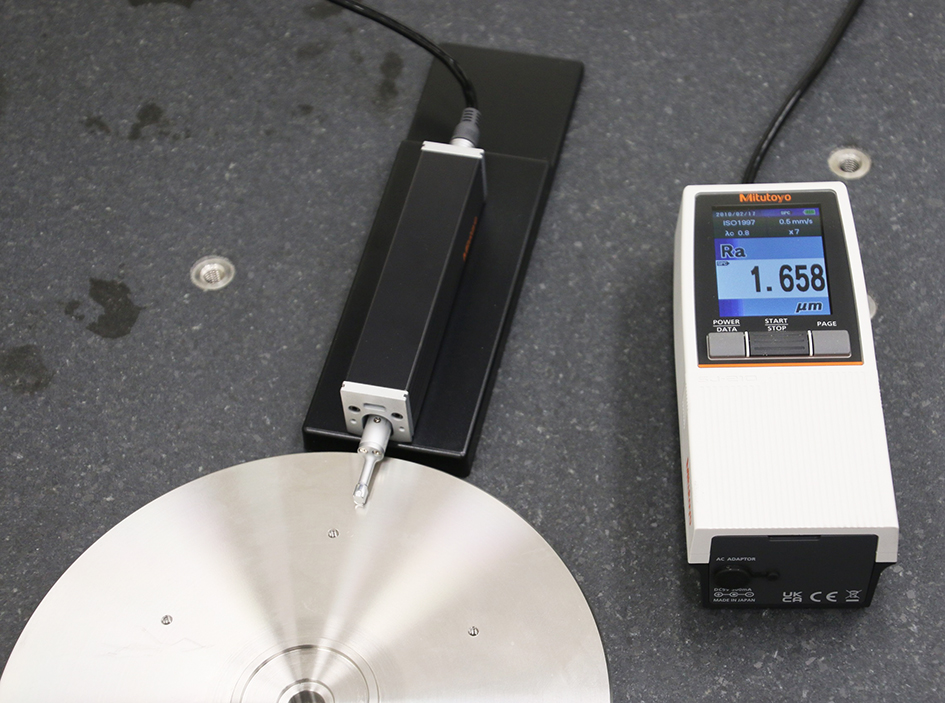
As well as investing in the Crysta-Apex V 7106, Cwm Engineering also purchased a Mitutoyo surface roughness measuring machine. Whilst surface roughness can be integrated into other machines in the Mitutoyo armoury, Cwm Engineering opted for the handheld solution for its ability to be used around the machine shop if necessary. Alluding to this, Andrew adds: “Historically, we have used a sample gauge and this has proven reasonably accurate. However, our variation of work can require surface finishes from as high as Ra3.2 in general subcontract work to as low as Ra0.4 for parts in the electronics, communications and ultrasonic industries. In some instances where customers subsequently surface coat or treat parts, they require a surface finish of ‘“That” and not better’ – the new testing machine will certainly support us in such instances. To exceed the requirements of our target audience, the surface roughness machine is a perfect complement to our new CMM and laser etching machines.”
Looking to the future, Company Owner and Managing Director Malcolm concludes: “The investment in new Mitutoyo technology will put us in a strong position for the future. Furthermore, the Mitutoyo MCOSMOS software enables us to fully network our quality activities and reporting. It also allows us to customise reports, organise and archive our programmes and results and it offers tools like SPC with full Industry 4.0 capability. This is an investment in the future of our business and we are delighted with the support we have received from Mitutoyo on this journey.”






Leave a Reply