In 1936, Pittsburgh’s Great Flood crippled Western Pennsylvania leaving thousands without electricity. In an effort to help restore the city’s electricity, Donald Ross started the Allegheny Electric Company. The journey to bring safety to the manufacturing industry noted the wiring method in existing overhead cranes was very dangerous. After decades of innovation, the company invented the Track Busway and the growth of the company broadened product lines beyond trolley conductor systems with the company changing its name to Universal Electric Corporation (UEC). This marked the creation of two separated divisions when UEC introduced STARLINE Plug-In Raceway.
First introduced in 1987, STARLINE Track Busway is now the industry-leading electrical power distribution system for the data center/mission critical, retail, industrial, and higher education markets – a company that has built a globally recognised brand that relies on measurement equipment from Mitutoyo to guarantee product quality.
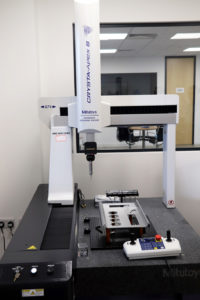
The Crysta Apex 574 CMM in operation at STARLINE
The UK division of UEC moved into a new 60,000sq/ft factory in Reading over 12 months ago to support the European customer base. Being UL, ETL listed and CE marked for use anywhere in the world, the quality of the company’s Busway product lines is a critical factor for the business.
As the Quality Director at the UK facility in Reading, Mr Clive Larke, says: “I joined STARLINE about three years ago to help set-up the global quality programme and a key part of that was a global metrology programme. It became apparent that we needed to upgrade our metrology ability, particularly on the back of our aggressive growth both in Europe and Asia. We needed to assist our supply chain to set up our products, manufacturing and support with them.”
Referring to the relationship with Mitutoyo, Mr Larke says: “I have worked in Quality Assurance for around 25 years and in that time I have worked with a number of different providers. The one thing that sets Mitutoyo apart from its competitors is its global reach and the after sales support. It really is unparalleled.”
With regards to the metrology department, Mr Larke continues: “As part of the global strategy, we wanted to produce a mirror image on both this side of the Atlantic, the US and in our other hub in Asia. We control all three labs from this hub here in Reading. STARLINE is premium brand and our customers expect a premium product and this is our way of developing a unique way in the market to support our customers.”
Tasked with implementing a standardised measurement facility on three different continents with the facility for seamless global integration and conformity, Mr Larke approached Mitutoyo. As Mitutoyo’s Southern Area Technical Sales Engineer, Mr Trevor Stubbs recalls: “I had previously supplied Clive with Mitutoyo products when he was at a different company, so when he joined STARLINE, he got in touch to see how we could best undertake his metrology project. Initially, Clive brought a number of parts to our Andover headquarters where we conducted extensive testing, trials and conformance reporting. From this, we recommended a number of suitable products. This included the Crysta Apex 574 3-axis CMM machine, the Quick Vision Active QVL-404 2-axis, the Quick Image QI A2010 image recognition and measuring system, the LH600E height gauge and a selection of hand tools, a granite table and a number of other ancillary products.”
“Much to our surprise, Clive didn’t only order the equipment for the Reading facility; he also placed an order for the Singapore and US sites. By mirroring the Mitutoyo equipment specified for the Reading site, the company can ensure complete uniformity across all its manufacturing sites,” says Mr Stubbs.
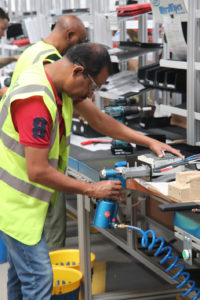
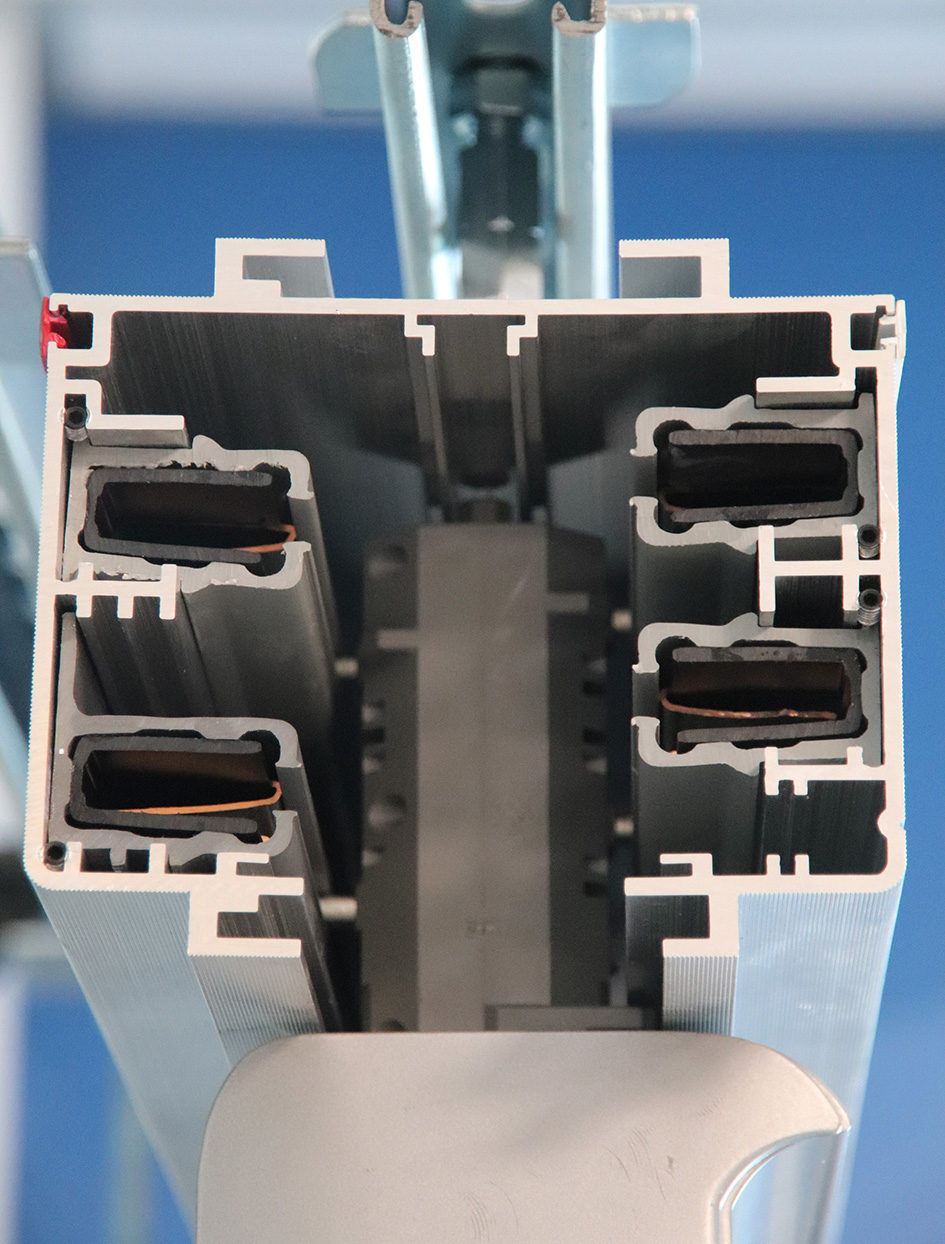
Upstream precision is critical for the downstream assembly process at STARLINE
“The Crysta Apex CMM is used for measuring critical dimensions as well as the dimensions on mating parts that require an optimal fit. STARLINE manufactures thousands of components and assemblies, so the Crysta Apex will also be used to measure the dimensions of a section of extruded aluminium prior it being entered into production and assembly. Additionally, the QVL-404 is applied to measure extrusions with exceptional speed and efficiency.”
This uncompromising level of speed and precision is provided by an automatic edge detection function and an automatic image focus facility that both combine to allow automatic measuring with nothing more than ‘rough’ positioning on the surface of the machine. “This allows STARLINE to automate a lot of its metrology department. For example, the CMM and the QV can be set up to automatically run while one of the staff in the quality department can undertake other tasks, such as measuring extrusions on the height gauge.”
Steve Roddy, who oversees the metrology departments in the UK and at the overseas sites, says: “We have a Crysta Apex 574 3-axis CMM machine and a Quick Vision Active 2-axis machine. We also have a Quick Image (QI) that is all used for measuring the products that come into our business. We measure each individual sub-component that comes into the business. This is to ensure that we have repeatability and it is a guarantee to our customers, it’s also to ensure we meet all the drawing tolerances specified.”
“The relationship we have with Mitutoyo is really good, whether it’s here, in the US or in Singapore. I can go to Singapore and contact the Mitutoyo guys in the UK and within an hour I’ll get a response, whether it’s an email or a phone call – and this is the same in the UK. The training has been absolutely fantastic and all the machines have designated training programmes and there are also advanced courses available to go on.”
Looking to the future growth potential of the business and its relationship with Mitutoyo, Steve continues: “If there is any further growth within the business, we will definitely be working with Mitutoyo to support this growth.”

